Driftwood is made up of various types of wood, but they all share one common voyage: washing up on the beach and making their home on the sand.
Despite these pieces of wood looking rather damaged and unruly, you can actually turn them into a lot of beautiful and sturdy projects.
This brief guide overviews the process of acquiring and cleaning/drying off driftwood so that you can use it in your projects, and extends a plethora of ideas to you so you can get that creative mind flowing with additional ideas.
Use them for inspiration or stick straight to them.
Either way, this is one of the best ways to repurpose, and get debris off of our beaches at the same time.
Contents
- 1 Where to Find Driftwood?
- 2 How to Dry Driftwood?
- 3 DIY Ideas for Driftwood
- 3.1 1. Driftwood Sign
- 3.2 2. Towel Rack
- 3.3 3. Potpourri Bowl
- 3.4 4. Weathered Picture Frame
- 3.5 5. Christmas Tree Ornament
- 3.6 6. Heart of the Sea
- 3.7 7. Aquarium Addition
- 3.8 8. Painted Decor
- 3.9 9. Barrel Vase
- 3.10 10. Low Impact Shelf
- 3.11 11. Driftwood Railing
- 3.12 12. Birdhouse
- 3.13 13. Candle Holder
- 3.14 14. Accented Wall Art
- 3.15 15. Potted Plant Textures
- 3.16 16. Toy Sailboats
- 3.17 17. Wind Chimes
- 4 Is Driftwood Good for Furniture?
- 5 What Are You Waiting for?
Where to Find Driftwood?
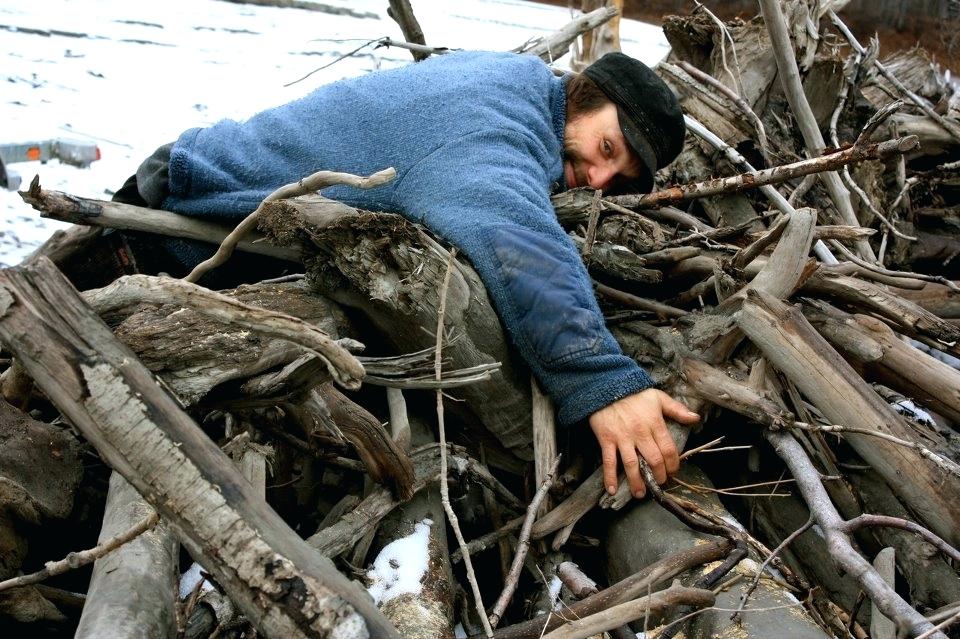
Driftwood, by the nature of its name, drifts to the shore from wind and large waves on the beach.
There’s different pieces of processed wood in the water for various reasons, though most of the time, docks just erode with time and pieces of wood fall off.
It isn’t necessarily the result of pollution, but it is still good to remove it from the beaches to help out marine life.
Find it on the beach or on the side of riverbanks if you wish, but you can also purchase driftwood if you don’t have any nearby beaches.
There are plenty of online stores that offer driftwood for sale at reasonable prices.
You can also go to any body of water, such as the shore of a lake or a stream, because driftwood doesn’t exclusively come from the ocean.
River driftwood may be called bogwood in different articles and literature, but it’s basically the same thing.
Driftwood can also come from fallen trees that have just died from natural causes.
You can see this a lot on the sides of rivers where erosion has caused a tree to fall, or at bogs where trees simply wither away with time.
If you find waterlogged wood on the edge of any body of water, consider it driftwood, collect it, and move onto the next step so that you can dry it properly before use.
One other way that driftwood is formed, and in turn how we end up finding it at the edge of waterways, is from natural disasters or large scale floods.
Once an area is safe for human passage, visit the site of where a recent flood or landslide has taken place, and you’ll be able to find plenty of driftwood.
It can come from excessive water logging of trees where the pressure breaks off sections of wood and warps it over a short period of time.
How to Dry Driftwood?
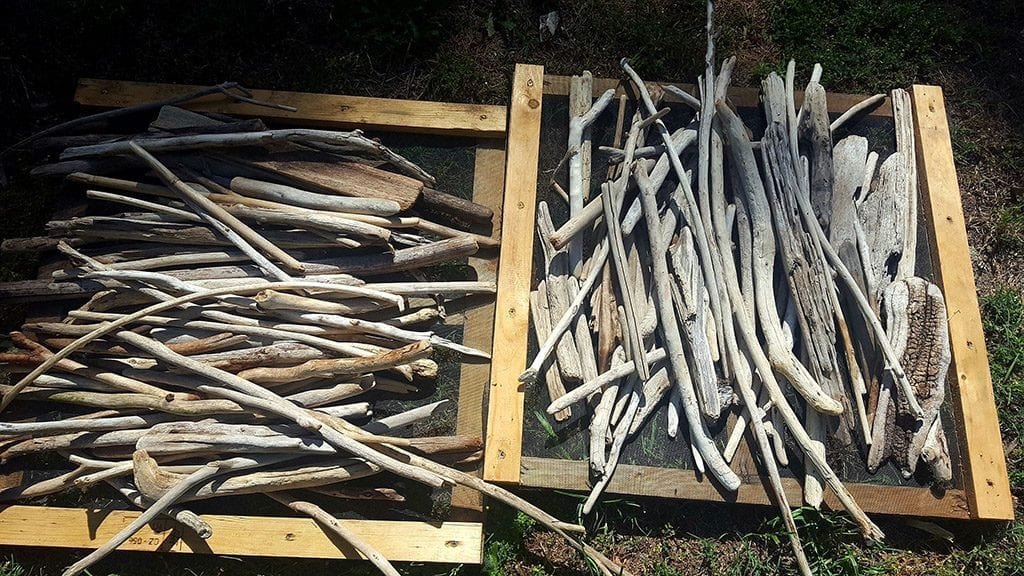
First you need to identify any wood that you find.
The wood type doesn’t matter, but check for moss, mildew, mold, and possibly any insects that are crawling around inside of it. If you find driftwood on the side of a river, insects are common.
If you find driftwood on the beach, you’ll mostly just be brushing sand and a few barnacles out of it at the very most.
So you’ve cleaned it, but now drying it is the real chore.
Get a rough brush and start brushing away all the dead flakes of debris and build-up on the exterior. This is going to remove dirt, mud, and anything that’s just stubbornly stuck onto the side of your driftwood.
Now take non-iodized salt and scrub the driftwood with it.
This is a process known as curing, where you’re making an environment that doesn’t allow bacteria growth.
Iodized salt may remove some of the antibacterial properties, so don’t just grab any table salt and have at it.
Now comes the difficult period. This is something you should do once you’ve collected enough driftwood for it to matter, such as right before a major project.
Get a large pot and place the recently scrubbed, salted driftwood inside of it. Boil the driftwood for three hours to clean everything and ensure that nothing could be living inside of it.
Make sure it’s at a rolling boil to eliminate bacteria, otherwise the finished project that you make could start to build up an odor.
You can purchase a heating lamp from a pet store (sounds crazy, we know).
These are designed for lizards to maintain a certain internal body temperature, but also work well to put over the pot once you’ve drained the water.
Leave this over it for about a day or two, or until the wood is fully dry, and you’re down to one last step.
Use an oil wood finisher, and allow it to dry.
Depending on the project you’re doing, you should seal the driftwood with one or two coatings of polyurethane, which is what is applied to bar counters to give it that slick feel and finished look.
If you’re making a large scale project and want to wait to add polyurethane, you should at least add oil wood finish first.
DIY Ideas for Driftwood
1. Driftwood Sign
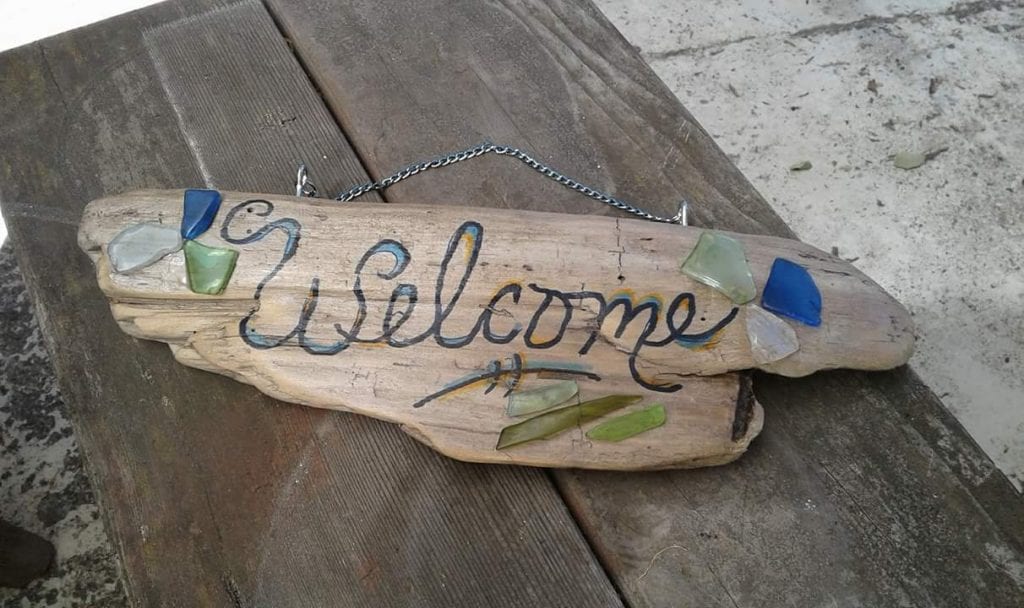
Arguably the most customized and authentic DIY craft you could do with driftwood is make a sign.
Shave down wood to make an even flat surface, and nail them together in two layers to create a perfect surface on the opposite side.
If the driftwood you’ve collected isn’t the best, consider building the sign and then woodburning the phrase or message into it instead of painting it.
It’s a quick and easy project that you can do with the little ones.
2. Towel Rack
You can make a coat rack, hat rack, anything at all, but a towel rack that’s screwed into the wall in your bathroom is going to stand out the most.
All you need is a flat piece of driftwood as the backing, some anchor screws for the wall, and some rustic-looking hooks to drill into place.
Super simple way to use driftwood effectively, and a great way for beginners to get started.
3. Potpourri Bowl
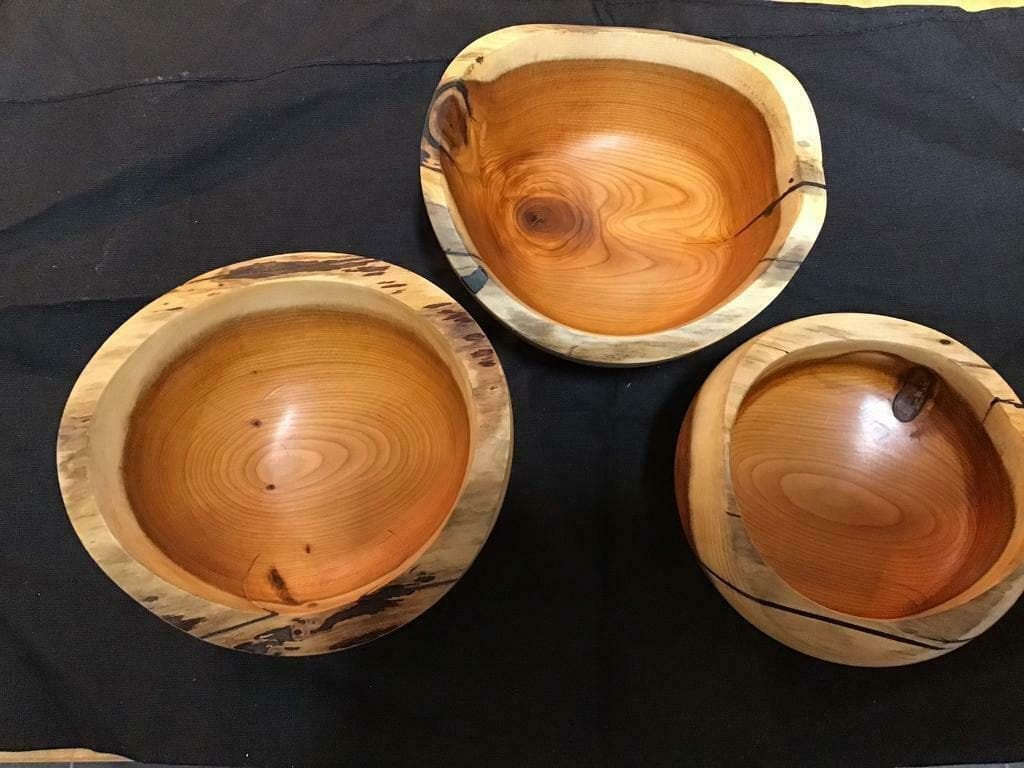
This requires an unconventional approach different from what we listed above.
Instead of using an oil finish on the wood, soak them in fragrant oils like lavender oil (once they’ve been properly dried) to give a long-lasting scent that wafts through your home.
These work great as gifts, help decorate entryways, and set the tone when you’re inviting new guests into your home.
4. Weathered Picture Frame
You’ll need to find some longer pieces depending on the size of the photograph or portrait that’s going into the frame, but nothing creates a more nautical-themed frame than driftwood.
We covered something similar in our post on repurposing pallets for DIY projects as well. For a strong finish, oil treat the wood, but don’t add a polyurethane to it.
Use a tack hammer to nail a few strips of rope around the edge of the frame to give it a more rustic look.
5. Christmas Tree Ornament
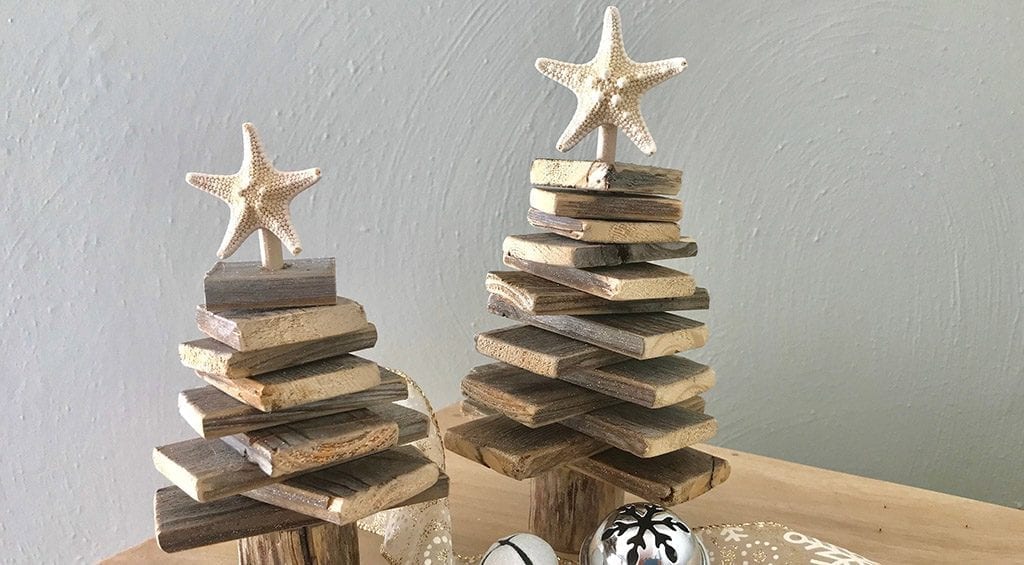
Few things offer as much pride as something that you’ve made entirely on your own.
You can mix and match different bits of driftwood together to create stars, abstract designs, or whatever your heart desires.
If you can also practice woodburning, this is a great alternative to those $!5 customizable ornaments you see online.
Everyone wants their first Christmas with the new baby to be memorable, and nothing is going to be treasured quite like a handmade item like this.
6. Heart of the Sea
This is a creative project where you draw a heart on some poster board, and try to fit as many bits of driftwood into the outline as possible.
Use a sealant or a glue to bind them all together.
For an added effect, grab an intact seashell from the beach before gathering the driftwood for this project, and attach it to the front of the heart.
7. Aquarium Addition
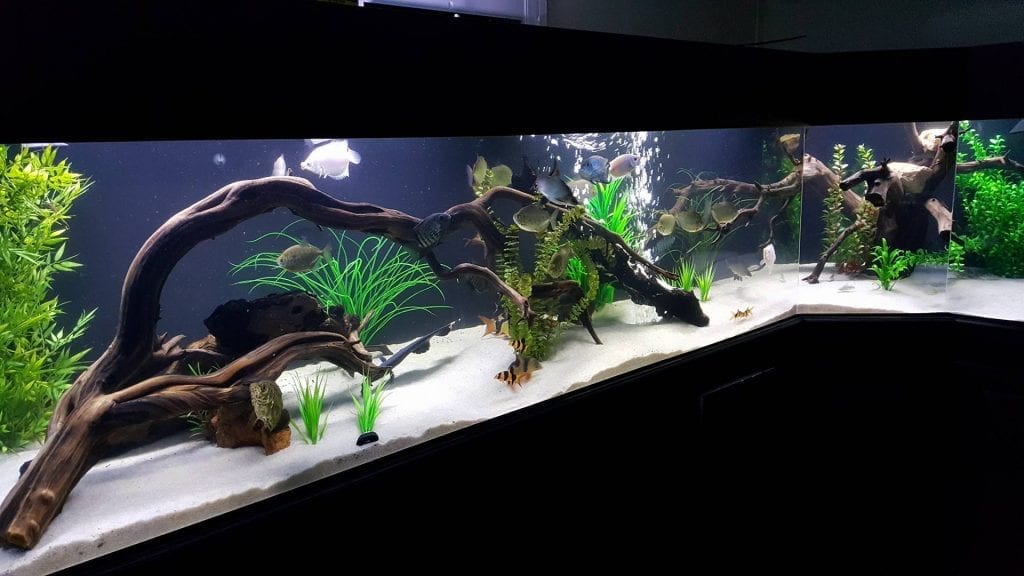
Have a large fish tank?
While it seems a bit backwards to treat driftwood just to put it back underwater, it’s the best way to do it to prevent particles from getting into the water and ending up in your fish.
Make an arrangement of driftwood sections that overlap, and ensure that they’re not going to be too tight for your aquarium fish to pass through.
You’ll have to arrange this by putting your hand into the tank, just don’t scare the fish.
8. Painted Decor
Got kids? Put their creative minds to work by having them paint flat pieces of driftwood.
Keep a theme going so that you can hang everything up in a certain section of the house, like the living room or kitchen, and keep an air of uniformity to the style.
Works great as decor, and gives your children an outlet for their creativity. Oil paints work exceptionally well here.
9. Barrel Vase

Get some dried herbs or plants, and pop them in one of these for a centerpiece that everyone will love. Tie flat pieces of driftwood together like an old style barrel.
You can even do this around a glass vase in the middle so it still looks nautical, and is structurally sound.
Just use a bit of rope, and you’ve got a nautical-themed vase that you can put just about anywhere.
10. Low Impact Shelf
Driftwood isn’t necessarily the strongest wood out there, especially after the treatment process, but it can still make an excellent low impact shelf.
Keep about five to seven pounds worth of goods on it, and it should hold up well.
Simply attach sturdy pieces of driftwood to the bottom of a flat piece of wood, and screw those into the wall.
Use L brackets to attach everything to ensure it’s all sturdy, and boom—you’ve got a nifty little shelf for some nick nacks.
11. Driftwood Railing
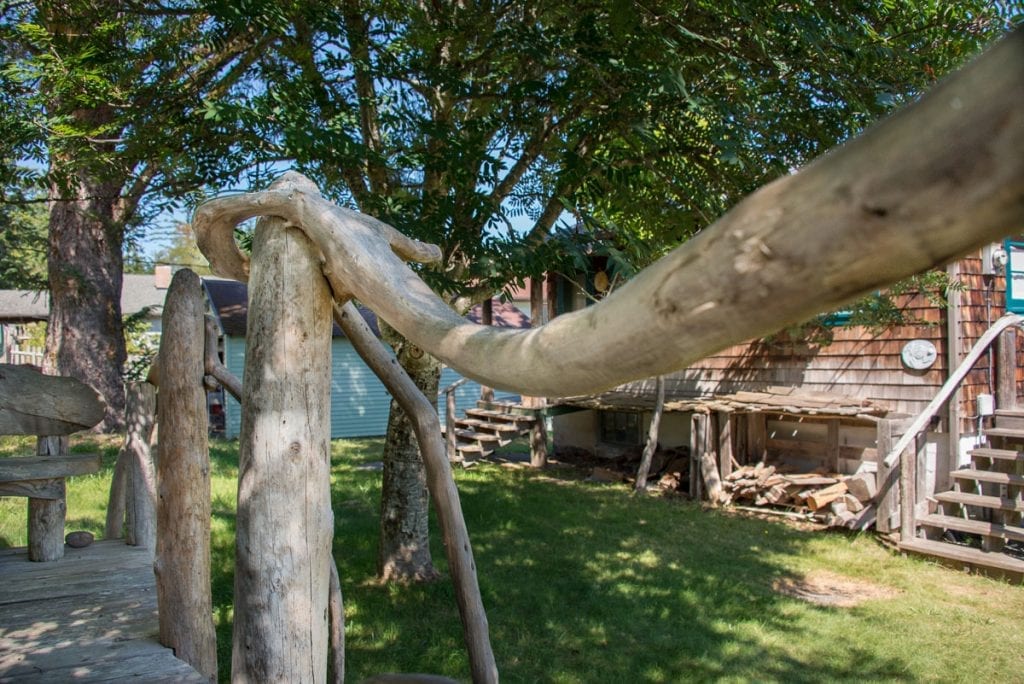
You’ll want to finish this with some good wood oil and polyurethane, but a long enough piece of driftwood can replace a hand railing on your staircase or be added to the outside of your home for a wheelchair accessible ramp.
This adds a personal touch, and a physical aid in your home—you created that and you should be proud of it.
12. Birdhouse
Give the local birds a taste of the beach with a custom summer shack.
You can start with a flat board for the bottom, make a circle of sticks around the edge, and then make a teepee on top and secure it all together.
Driftwood birdhouses are dead simple to create, just make sure you find a good spot so that they won’t sway too hard in the wind.
13. Candle Holder
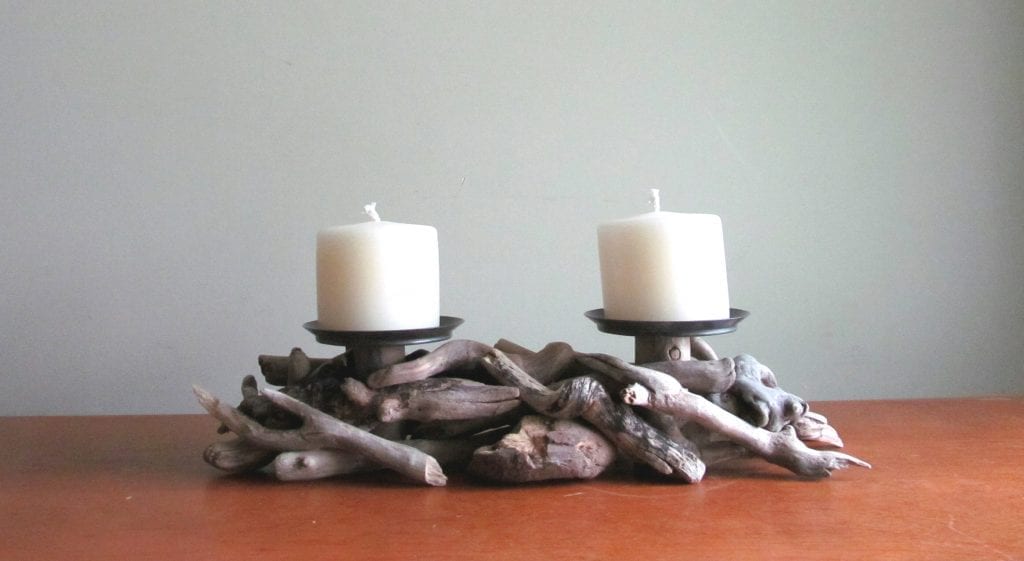
A big fan of big candles?
Using some metal wire, you can simply prop up little bouts of driftwood in a circle that surrounds your big candles, even if they’re in glass jars.
While adds an entirely different element to your space, and makes the scent given off by the candles appear more natural. Just be sure to use polyurethane on the wood to prevent a fire hazard.
14. Accented Wall Art
Accent walls can be tricky to build from the ground up, but this little hack will turn shreds of driftwood into a masterpiece that will steal the spotlight in your home.
Simply attach as many pieces of long driftwood together as possible to create a woven appearance on the wall area of your choosing, and find a pattern that works for you.
When you do, hot glue the pieces together, and then use ten to twelve anchor spots to secure the entire structure to the wall.
15. Potted Plant Textures
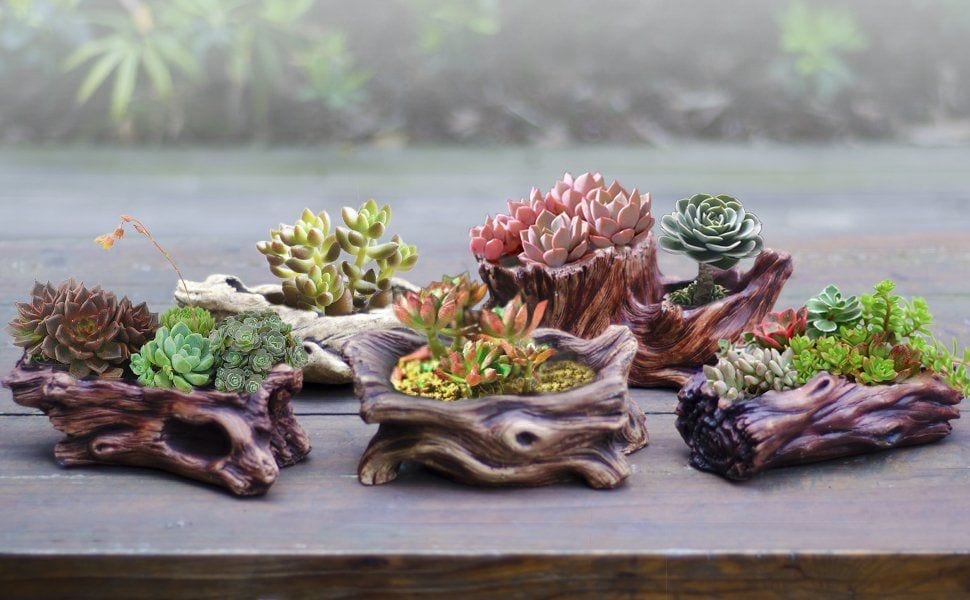
We’re big fans of using pallets to build your own outdoor furniture and pieces of decor, and adding driftwood is a great way to break up those textures.
You can add them into potted plants as decoration to bring the foliage to life, or get super creative and frame the outside of the pot with driftwood.
It gives a much more early aesthetic appeal to the whole project. Bonus points if you can build your own wooden planters and work driftwood into the overall design.
16. Toy Sailboats
Carve a hole in the middle, and whittle a proper mast to go in the center, and boom—you’ve got a sailboat.
You can make this ultra functional by glueing the mast into place, and stitching a triangular sail onto it so that it can actually float in the water.
It’s a bit ironic to bring driftwood back into the water, but if it’s sealed it should have an excellent buoyancy and float just like a plastic toy.
If it gets lost, it will degrade, so there’s no risk of accidental pollution.
17. Wind Chimes
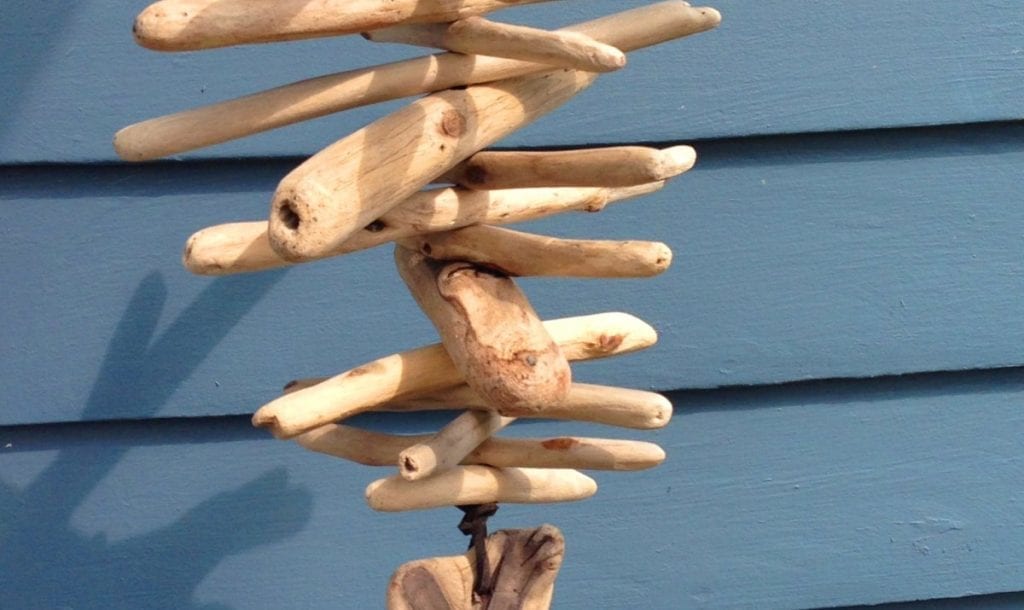
Wind chimes are something you don’t see enough of anymore.
This will take a bit more craftiness than simply collecting the wood. Drill evenly spaced holes in the piece of driftwood, and run rope or twine through the holes and knot them off.
Hand beads or glass marbles from the rope, or even a few bells.
Use some rope to hang this up. While driftwood isn’t the main focus, you’re still getting excellent use out of it, and saving money compared to buying fresh lumber.
Is Driftwood Good for Furniture?
If it’s furniture that’s meant to fully support a person, then no.
Small pieces of furniture like lamps and planters are okay, because there’s a lower weight threshold.
Since these pieces of driftwood aren’t actually fused together, weight and pressure isn’t evenly distributed amongst all areas. It’s best to use strudier wood that hasn’t undergone as much harsh treatment if you’re trying to build furniture.
Driftwood is better used for arts and crafts-style projects and lightweight builds.
If you’re not certain about building furniture from salvaged wood, starting with driftwood is a great way to get the ball rolling and find different ways that you can reuse recycled or salvaged wood.
Now, that being said, there are some coffee tables made out of driftwood roots, which are different.
Driftwood roots are like little tree stumps that have been twisted and molded by the water and by stress. Even when treated, these can withstand significantly more weight and pressure than standard pieces of driftwood that are tied together with chicken wire.
They can be desks, they can be tables, but in all the photographs of these that you find online, the chairs and couches around them are manufactured or built out of sturdier materials.
What Are You Waiting for?
Get your shoes on, get out the door, and find some wood to repurpose.
If you’re not sure where to start, look at local bodies of water on Google Maps and determine the closest spot to go and look for driftwood.
Plan out a few dollars here and there out of your paychecks to get the necessary wood oil, sealant, polyurethane and anything else you might need to complete the projects you have in mind.
This isn’t just a simple thing that you do one day and not the next, it’s something to get excited about and get involved with for a long time to come.

