We’re a very wasteful society.
Even when you look at some of the best nations when it comes to recycling and reusing, there’s still a lot of room for improvement.
It all starts with a collective effort, and one of the best ways that we can reduce our carbon footprint is to look for alternative solutions that don’t damage the earth like reusable items.
Glass bottles can replace water bottles in your home, and be reused an endless amount of times, which saves you money in the long haul.
Some people get grossed out at the thought of reusing glass bottles, but don’t worry: we’ve got a step-by-step system (with multiple methods) to clean and sanitize glass bottles, making them good as new.
Seriously, they’ll be as sanitary as if you just popped the bottle cap off. Let’s get to it.
Contents
Different Methods of Cleaning
These are the two most effective methods of cleaning glass bottles.
Be thorough to ensure there’s nothing left behind for bacteria to latch onto, and move on to the sanitization methods we’ve provided to fully ensure that your glass bottles will be as good as new.
If your bottles chip at any point during cleaning, discard them.
Bottle Brush Scrubbing
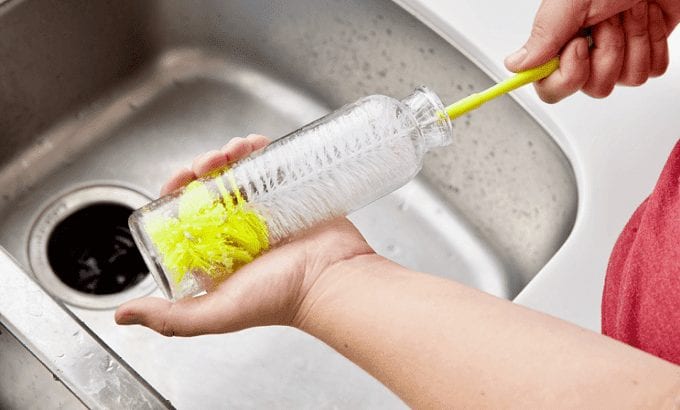
- Get a baby bottle brush, or a long brush with soft plastic bristles. This prevents scratching the inside of the glass and leaving areas for bacteria to grow. Wet the brush with hot water from the faucet.
- Scrub the interior by pivoting the handle of the bottle brush to reach all areas. Do your best to make sure that the brush touches every areas on the inside.
- Rinse by filling the bottle up about one third of the way with hot water. Swish it around to coat all areas on the inside of the bottle, then pour out. Repeat this step one more time, paying attention to any debris that forms in the water or is washed down the drain.
- If debris or particles persist, add one teaspoon of salt and two drops of dishwashing detergent to the bottle. Fill one third of the way with hot water, then cover the top with your hand or the cover, and shake for twenty seconds.
- Let stand to air dry in a strainer or on a rack. Store upside-down to let gravity drain as much water as possible.
- Combination sponge and bristles for thorough cleaning
- Grooved no-slip handle for easy grip
- Brush head has two types of bristles for gentle cleaning and serious scrubbing
- Fits most bottle sizes; flexible neck for easy reach to get a deep clean inside bottles
Rice Soaking
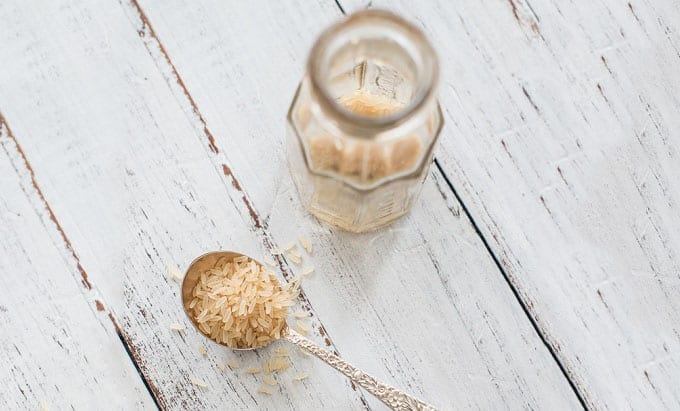
- Take a quarter cup of uncooked, raw white rice (par-cooked is not recommended) and drop it into the bottom of the bottle
- Add about three drops of dishwashing detergent into the rice.
- Fill the bottle three fourths of the way with hot water. Do not using boiling water.
- Cover the top with your hand or the cover to the bottle, depending on what you’re using. Shake for twenty to thirty seconds.
- Drain rice and rinse bottle. It’s best to rinse 2-3 times to make sure you’ve gotten all the grains out. Dispose of the grains, let the bottle air dry.
How To Sterilise Jars
Sterilization is just as important as cleaning. When you clean, you’re unearthing all the stuck-on bacteria, and sanitizing is like the killing blow that ensures everything is fully food-grade safe.
The basic principle when sterilising jars is a four step process:
Step 1: Wash the jars thoroughly in hot soapy water, rinse then dry.
Step 2: Place on an oven rack with equal spacing, heat them to 120° for 15 minutes. You can also place the jars into a large pan of boiling water for 10 minutes. To finish off drain the water and dry.
Step 3: Place the glass jars in the dishwasher on a hot cycle
Step 4: Sterilise the metal seals in boiling water for 5 minutes then leave to dry
That’s just a few methods you have available, not I want to talk you through the process more deeply. If you follow these methods, and it’s like the bottles were never used in the first place:
Boiling Point
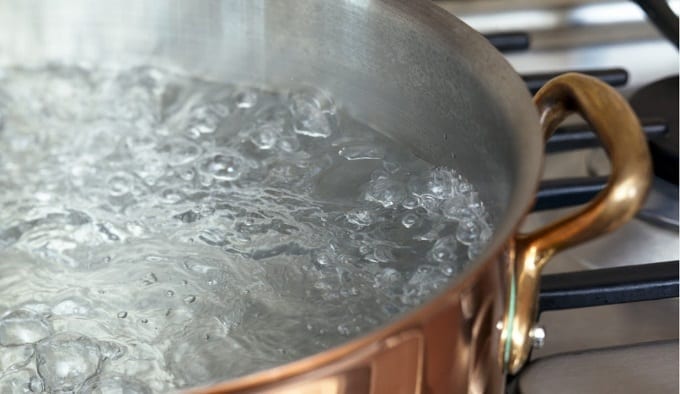
- Bring a pot of water to a boil. We can’t tell you how much water to use, but you do need a pot that will be able to host 2-3 bottles at a time (for time efficiency purposes) without them being crowded. Once the water is boiling, proceed to step two.
- Place the bottles and any lids you may have in the water. Using a utensil, make sure that they fill completely with water. This will kill any and all bacterial growth on the inside.
- Boil for ten minutes. Put a timer on, and monitor everything.
- Reduce heat. Let bottles sit in water while the temperature climbs down. Remove, rinse with warm water and set out to air dry.
Vinegar Trick
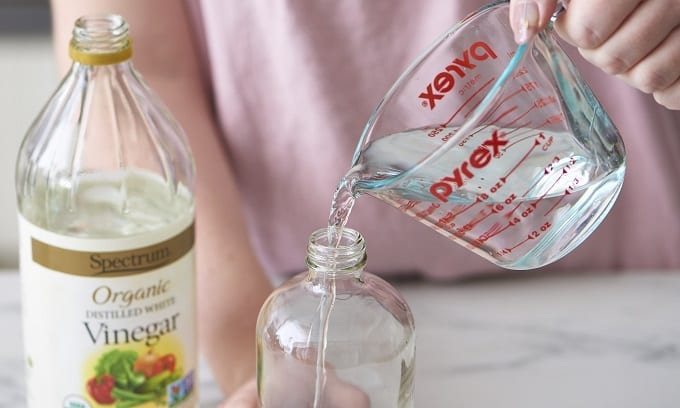
- White distilled vinegar is a natural sanitizer, killing bacteria as well as or better than commercial sanitizing solutions. Fill your bottle one third of the way with white distilled vinegar.
- Fill the rest of the bottle up to the top with hot water. Let bottle stand for ten minutes.
- Empty bottle and rinse until vinegar odor dissipates. This may take two or three full rinses with hot water. Leave out to air dry.
How to Wash Glass Bottles With a Narrow Neck
If the neck is narrow enough that you’re having difficulty using a baby bottle brush or soft bristle brush to clean it, this little trick works wonders.
You have to do it individually on each bottle, but it’ll have them shining like brand new, and you don’t need an abrasive cleaning agent or tool to get it done.
Pour two ounces of salt into the bottle, or a quarter cup if you’re using measuring cups.
Next, add the same amount of white distilled vinegar into the bottle. Use the palm of your hand to hold over the top, and shake it up.
Depending on how stained or discolored the bottle is, your time spent will vary.
Make sure that the salt is moving around with the vinegar, and you’ll slowly see that the once clear solution is absorbing the discoloration of the bottle (this is easiest to see on clear bottles).
The vinegar sanitizes the bottle, as we said before, but reacts with the salt at the same time to act like an exfoliator on the inside of the bottle.
This reaches all the spots that you can’t get, even if you are able to squeeze a brush in there. The salt will scrub everything away while the vinegar absorbs it.
When you’re done, dump the solution down the drain, and rinse the bottle out. Let it air dry, and you’re good to go.
If you need to dry them quicker, get a soft cotton cloth, and feed most of it into the bottle with a bit of it poking out.
Turn the cloth to the best of your ability, and pull it out slowly after a few twists. This will clear up most of the moisture inside, and can expedite air drying times.
Multiple Ways Cleaning Glass Bottles Reduces Your Carbon Footprint

It isn’t just a glass versus plastic argument, there are other reasons that glass is better for reducing and virtually eliminating your carbon footprint.
If you’re cleaning glass bottles, you’re dumping water, dish soap, and any particles left behind in the bottle right down the drain.
Glass is easier to clean than plastic, which reduces your water and soap consumption, and doesn’t wash any BPA or phthalates down the drain from high temperatures like it can do with plastic.
You’re also not using alternative containers. Whether it’s plastic or styrofoam, paper or other glass, you’re not putting more into the landfills and oceans.
You’re using the same glass bottles time and time again.
On that same note, you’re also not buying the packaging that plastic or glass bottles come in, which is even less that goes into the landfill.
Last but not least, when they eventually run their course and need to be retired, they’re 100% recyclable.
Using recycled glass in any industrial sense uses only 40% of the energy that it takes to create new glass.
When you recycle them if they start to lose their luster, you’re helping to cut 60% of the emissions that are created from producing new glass.
Health Benefits of Using Glass Bottles Over Plastic
While we all know to look for BPA-free items, at this point in time, nobody really knows why other than the fact that they are bad for you.
BPA is a chemical called bisphenol A, which is not a stable chemical element. Because it’s unstable, it leaks into your water while you’re drinking it.
If you think you’re being eco-friendly because you’ve reused that one Poland Springs water bottle ten times, you’re right, but you’re also poisoning yourself.
There are links between BPA and high blood pressure, though no definitive research that calls it outright poison.
The FDA regulates that very low levels of BPA are acceptable to be used in certain plastics.
In that statement alone, they’re omitting that higher levels would be a problem—you should just avoid it altogether.
BPA-free containers are better than single-use plastic ones, but can still leak some other harmful chemicals into your water if you leave the container in your cup holder on a hot day, or from repeated washes in the dishwasher at high temperatures.
When it comes to glass, there are absolutely no chemicals that get into your water whatsoever.
Glass can be cleaned at high temperatures without any problems, and typically lasts longer than a BPA-free reusable cup.
The other issues is that even when you get a reusable plastic mug with no chemicals, cleaning them usually results in scratching up the interior.
If you use these cups for protein shakes or anything other than water, bacterial buildup gets stuck in those crevices. Glass bottles are harder to scratch up, greatly reducing this issue.
Glass Bottle Cleaning FAQ
Does Cleaning Glass Bottles Save Money?
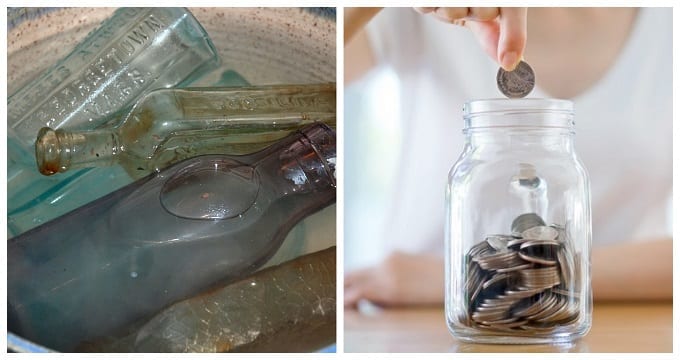
There’s a few really big ways that it can save money.
First and foremost, you can use glass bottles to replace water bottles.
If you were drinking the recommended amount of water each and every day, and you get your water exclusively from single-use water bottles as many people do, you will use 28 water bottles per week.
That’s 112 per month, or 1,344 per year. While the lack of negative environmental impact is fantastic (since there’s already five trillion pieces of plastic in the ocean), this is also a huge money-saver.
If you use glass bottles and four separate filters in a faucet filtration system (three months per filter life), you’ll only be spending about $60.00 per year, on average, for clean drinking water.
Zero impact on the environment as well, we might add.
Compare that to the average annual cost of 24-packs of bottled spring water: $138.88 for store brand, and $502.88 for Poland Springs or Zephyrhills.
Even if you go with cheaper spring water from unspecified brands (which could just be tap water from another state), you’ll save roughly 2.25x more money with a water filtration system and glass bottles.
Most filtration systems are usually good for five years, so consider that for four of those years, your only annual expenses will be inexpensive filters that average at about $24.00
How Many Glass Bottles do I Need to Save This Money?
Look at your consumption of bottled water, or how much water you drink in a day.
There are some of us that carry around a gallon jug and just keep drinking until it’s gone, which would be about eight bottles of water per day.
To save money and have it also be worth your time, you should have forty-eight glass bottles at the ready.
This gives you enough to enjoy water all week, still have a few remaining, and do one weekly cleaning and sanitization batch to cut down on time spent.
These numbers scale if your large family is hopping on board with this idea as well, so scale accordingly.
How Long Does it Take to Clean Glass Bottles?
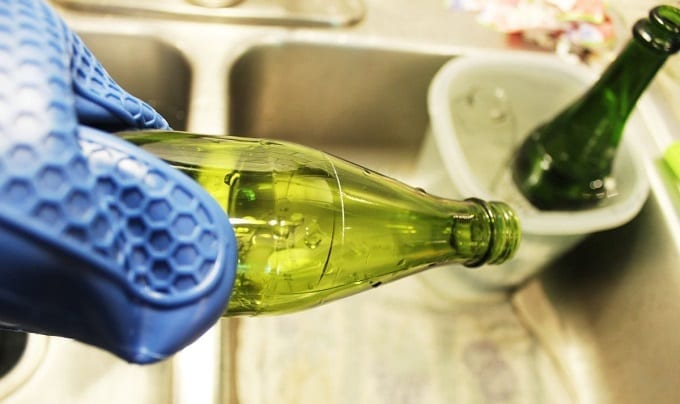
Cleaning and sanitizing are two different things.
For cleaning a bottle, it only takes about thirty seconds to forty-five seconds per item. If you’re cleaning a six-pack worth of bottles, about three to five minutes max.
The main thing to keep in mind during cleaning is not to use abrasive cleaning agents, such as metal brushes or Brillo pads.
These can leave some scratches all over (and inside( the glass with time. That not only weakens the bottle, but also gives bacteria and pathogens places to nest.
If you’re refilling bottles with alcoholic beverages that contain yeast (such as if you’re using a keg at a party or refilling 12 oz bottles with a 40 oz beverage), then this could be a major issue.
Use the aforementioned method of a baby bottle cleaner to avoid this.
So cleaning doesn’t take very long, but what about sanitizing?
Depending on what method you choose, you will need to allocate a set amount of time once a week to sanitize the bottles.
Since you don’t have full access to clean all the nooks and crannies like with a wide-rimmed drinking glass, sanitizing helps remove anything that might be invisible to the naked eye.
Sanitizing processes, if done in a batch, could take you about fifteen to twenty minutes the first time around.
After a while, you’ll get in a rhythm and get things prepared early, and this process will only take a combined ten minutes of your time.
The more bottles you have, the less often you need to sanitize. Just clean the bottles, let them dry, and keep them in a to-be-sanitized area.
How Many Times Can I Reuse Glass Bottles?
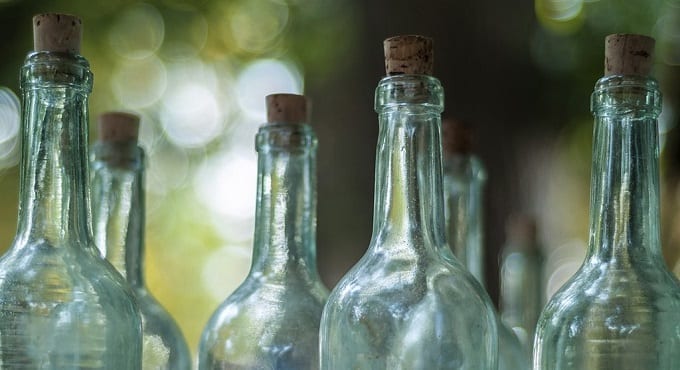
An endless number of times.
That’s not to say that you should reuse cracked or broken bottles, but there is literally no limit to the number of times that you can use glass bottles, so long as they don’t undergo any structural damage.
While it can be done, mending broken glass or splits in the bottle is not recommended, nor is it recommended to use bottles that have been chipped.
It’s like the same rule that your windshield guy will tell you—one small crack is going to lead to a massive break down the road, sooner or later.
The only time that a glass bottle can’t sustain that infinite lifespan is if your treatment or sanitization methods are boiling.
Eventually, excessive heat and then rapid cooldowns will make the glass slightly more brittle.
This could take years for it to have any negative reaction, but don’t heat treat bottles and then expect them to last for a decade or more.
It’s odd to think, but while thicker bottles will handle some bumps and bruises easier, thinner glass bottles will withstand those heat changes during sanitization easier.
There’s less material for heat to pass through, and less material to retain heat.
Do your best to avoid prolonged exposure to the cold, such as drinking out of them in the middle of winter if you’re bringing things outside.
Saving the Environment (and Cash)
Now that you know how many plastic bottles would end up in the landfill and how much money you’re saving, what’s stopping you?
It doesn’t matter what the glass bottle started as, it only matters what you make it into. This simple strategy is going to be a game-changer for you.
Clean, sterilize, use, and repeat the process for as long as the bottles stay intact.
Related FAQs
How Long Do You Boil Glass To Sterilize It?
Place a pan of water over high heat until the water is on a rolling boil. Leave the glass jars to boil for 10 minutes, no more, no less.
Why Does My Glass Water Bottle Smell?
The smell coming from your glass water bottle is from the bacteria fin your mouth. If you don’t wash the glass water bottle, bacteria are able to breed in the container. To prevent this, you can either not drink directly from the bottle, pour the water into a glass, or try not to touch the glass with your mouth.
Do Mason Jars Come Clean?
They come clean-ish, but you must always wash your glass jars before you fill them. This applies whether the canning jars are new or re-used. Wash the glass jars by hand in using warm soapy water. Make sure the clean jars are warm before filling them.
How Do You Get Cloudiness Out Of Glass?
Removing the cloudiness out the glass caused by hard water can be cleaned by swabbing the glass with nail varnish remover. Gently scrub away with a mild detergent. You could also try soaking the glass in distilled vinegar for 15 minutes.

